
GitHub Documentation: 7 Tips for Better README Files
Your README is the first impression for contributors and users. Discover 7 actionable tips to make it clear, engaging, and functional—boosting adoption and collaboration on your project.
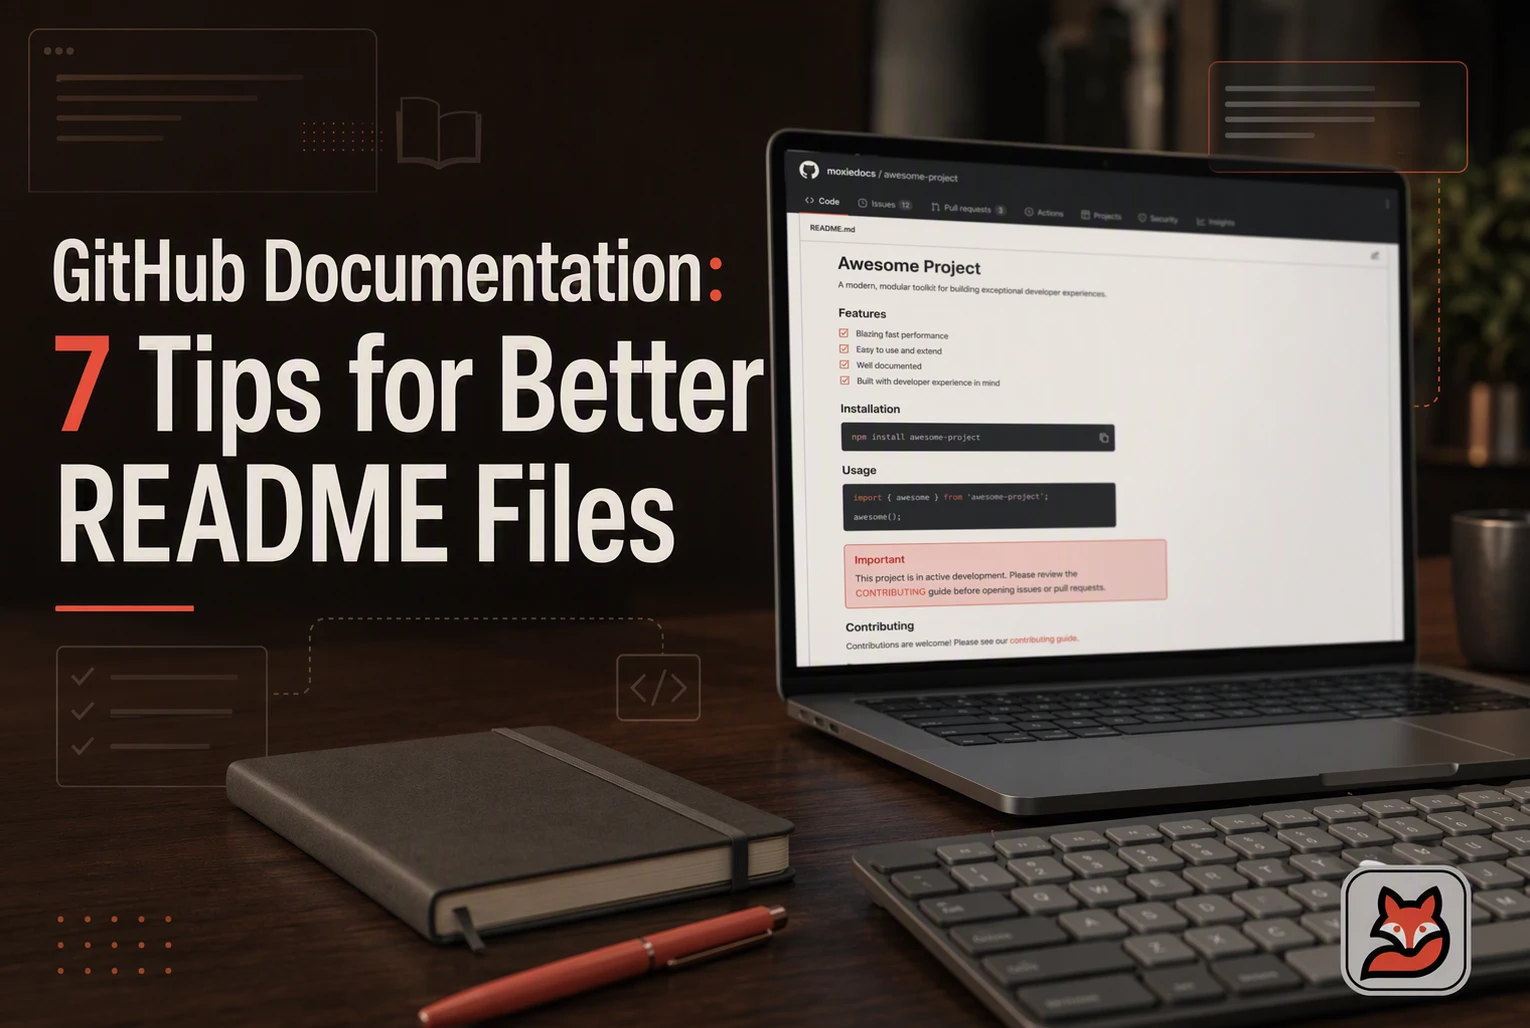
Quick Summary: A strong GitHub README must immediately answer what the project does and how to try it-or contributors will drop off. Start with a single clear sentence about the project’s purpose, add a working demo (like a screenshot or command output) to prove it’s real, and include copy-paste setup steps that you’ve tested yourself. The article highlights that broken links, vague promises, or untested commands waste time faster than anything else, and tools like MoxieDocs can automate checks to keep READMEs in sync with code changes.
A new contributor should quickly know what your project does, whether it runs, and how to help. Many polished README files still fail because value is buried, commands break, or help links lead nowhere. These README best practices create a clear onboarding path. Our GitHub README tips rank what visitors check first, using GitHub guidance, scanability, tested commands, and reliable links to help you write effective README files that stay aligned with code.
README Best Practices at a Glance#
| Practice | Best for | Primary README area | Contributor impact | Maintenance effort |
|---|---|---|---|---|
| Lead with a clear project promise | Fast project orientation | Title and opening description | Clarifies whether the project is worth exploring | Low |
| Show proof before deep explanation | Building trust quickly | Overview and quick demo | Makes the project easier to evaluate | Medium |
| Make setup copyable and testable | First-run onboarding | Installation and quick start | Removes technical friction | High |
| Include a realistic usage path | Demonstrating successful use | Usage or quick start | Defines expected behavior | Medium |
What makes a GitHub README effective#
A strong README gives readers the fastest reliable path from finding a repository to taking useful action. It shows what the project does, proves it works, and removes common setup blocks before users inspect the code.
It is not a full manual. It is a clear front door for users, contributors, and future maintainers.
Use the parent GitHub documentation pillar for broader repository guidance. These seven practices focus on making the README practical, current, and easy to trust.
1. Lead with a clear project promise#
Start with the project name and one plain sentence: what it does, who it helps, and why. GitHub says a README should explain what a project does and why it is useful in its README guidance.

Highlights
- Name the target user and problem solved.
- Flag experimental or internal status.
- Add badges only for useful build, release, license, or coverage status.
Pros
- Helps contributors self-select fast.
Cons
- A vague promise is worse than a short one.
This ranks first because readers must see relevance before setup details.
Last updated: August 17, 2026
Also Read: GitHub Documentation Gets Real-Time Collaboration Feature Update
2. Show proof before deep explanation#
Put a screenshot, short GIF, or real output near the top. Readers can judge value before they install. GitHub notes that README files explain what a project does and how to start using it in its README guide.

Highlights
- Show one representative result and explain what readers should notice.
- Add clear alt text. GitHub recommends image descriptions for screen reader users.
Specs
- Best for: Building trust quickly
- Primary README area: Overview and quick demo
- Contributor impact: Easier evaluation
- Maintenance effort: Medium
Pros
- Makes complex behavior clear fast.
Cons
- Screenshots can become stale.
Proof turns curiosity into intent before readers study the implementation.
Last updated: August 17, 2026
Also Read: A Comprehensive Guide to GitHub Documentation for Development Teams
3. Make setup copyable and testable#
Give readers the shortest verified route from clone to first run. GitHub’s local setup guide models clone, install, and start steps.

Highlights
- List runtimes, versions, secrets, and expected output.
- Test the README path in CI after dependency changes.
Specs
- Best for: First-run onboarding
- Maintenance effort: High
Pros
- Cuts repeat setup questions.
Cons
- Platform steps can grow fast.
A failed first run quickly loses contributors.
Last updated: August 17, 2026
Also Read: GitHub Documentation Gets AI Upgrade with New Copilot Features in 2026
4. Include a realistic usage path#
Show one complete task from input to result. GitHub recommends READMEs explain how users get started and use a project in its README guidance.

Highlights
- Include the command, required settings, and expected output.
- State what the example omits, then link advanced reference docs.
Specs
- Best for: Demonstrating successful use
- Maintenance effort: Medium
Pros
- Gives contributors a shared behavior check.
Cons
- Verify sample data after changes.
It ranks here because a real path lets readers test fit fast.
Last updated: August 17, 2026
The Remaining README Practices#
The first four tips shape a visitor's first impression. These last three make the project easier to join and safer to maintain.
- Create an obvious contribution route - Link setup needs, rules, issue guidance, and pull request expectations.
- Link out instead of overloading the README - Move API, troubleshooting, and architecture details elsewhere.
- Keep the README synchronized with code - Use reviews and automation to catch stale commands and claims.
How to choose the right README workflow#
Pick the workflow that matches your repository risk and change rate:
- Small open source: state the promise, show one tested example, verify setup, and link to contribution rules.
- Libraries and SDKs: lead with install steps, a minimal API use case, supported versions, and reference docs.
- AI/ML: list model, data, hardware, config, test commands, and use limits.
- DevOps: include access needs, variables, safe tests, rollback steps, and state warnings.
- Many repos: choose MoxieDocs to standardize reviews and flag stale commands, links, paths, and claims.
Always run the quick start yourself before merging. Automation finds drift, but people own accuracy.
Keep your README accurate after every merge. Try MoxieDocs to flag documentation drift and maintain living GitHub docs automatically.
Frequently Asked Questions#
Q1: How can I make my GitHub README stand out to attract more contributors?#
State the project goal, show a quick start, and list clear first tasks. Keep setup tested and short.
Q2: What are the 7 key sections every GitHub README should include?#
Include purpose, install steps, usage, configuration, tests, contribution rules, and license details.
Q3: How do I write a README that keeps up with code changes automatically?#
Review it with each merge. MoxieDocs can flag doc drift when code changes.
Republish or cite this article
You're welcome to republish this piece in full or in part. We just ask that you credit the original with a link back. See our republishing guidelines.
Attribution snippet
<p>This article was originally published on <a href="https://moxiedocs.com/blog/github-documentation-7-tips-for-better-readme-files">Moxie Docs</a>.</p>Cite this article
The Moxie Docs team. "GitHub Documentation: 7 Tips for Better README Files." Moxie Docs, August 17, 2026, https://moxiedocs.com/blog/github-documentation-7-tips-for-better-readme-files.
Read next
How to Write the Perfect CLAUDE.md File for Claude Code
Claude Code relies on a CLAUDE.md file for instructions on build, test, and style conventions. Learn how to write, structure, and maintain a perfect CLAUDE.md that keeps your AI agent on track.
Living Documentation and AI Documentation: A Comparative Overview
Explore a detailed comparison of Living Documentation and AI Documentation, helping software teams and engineers choose the best practices for effective AI-assisted development.